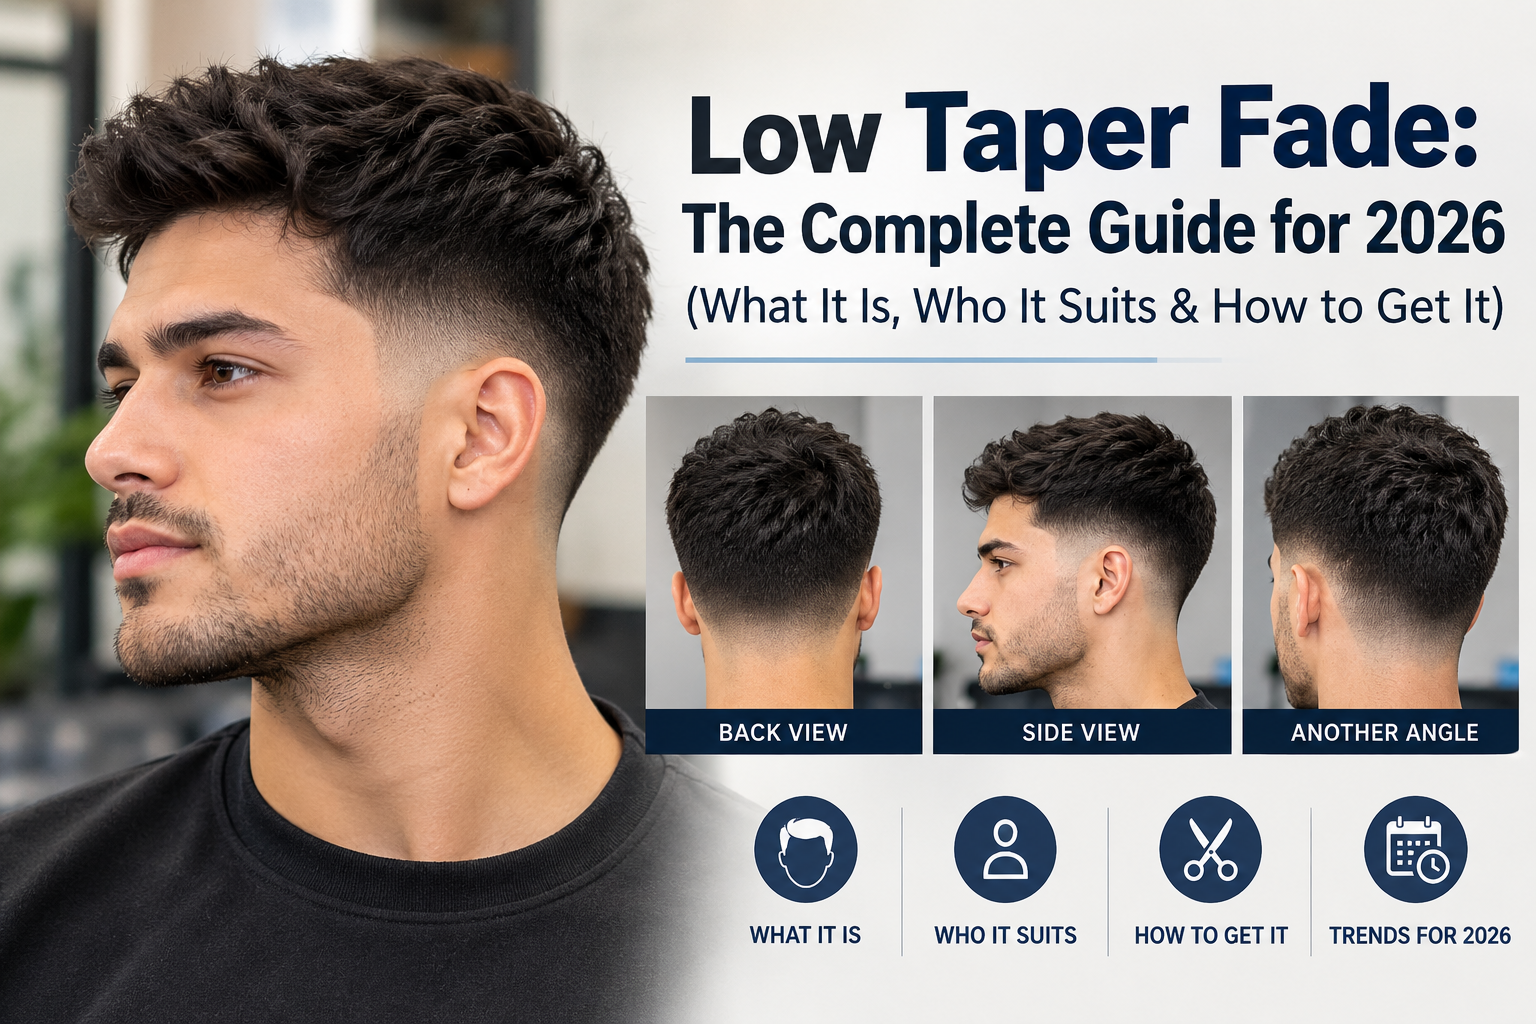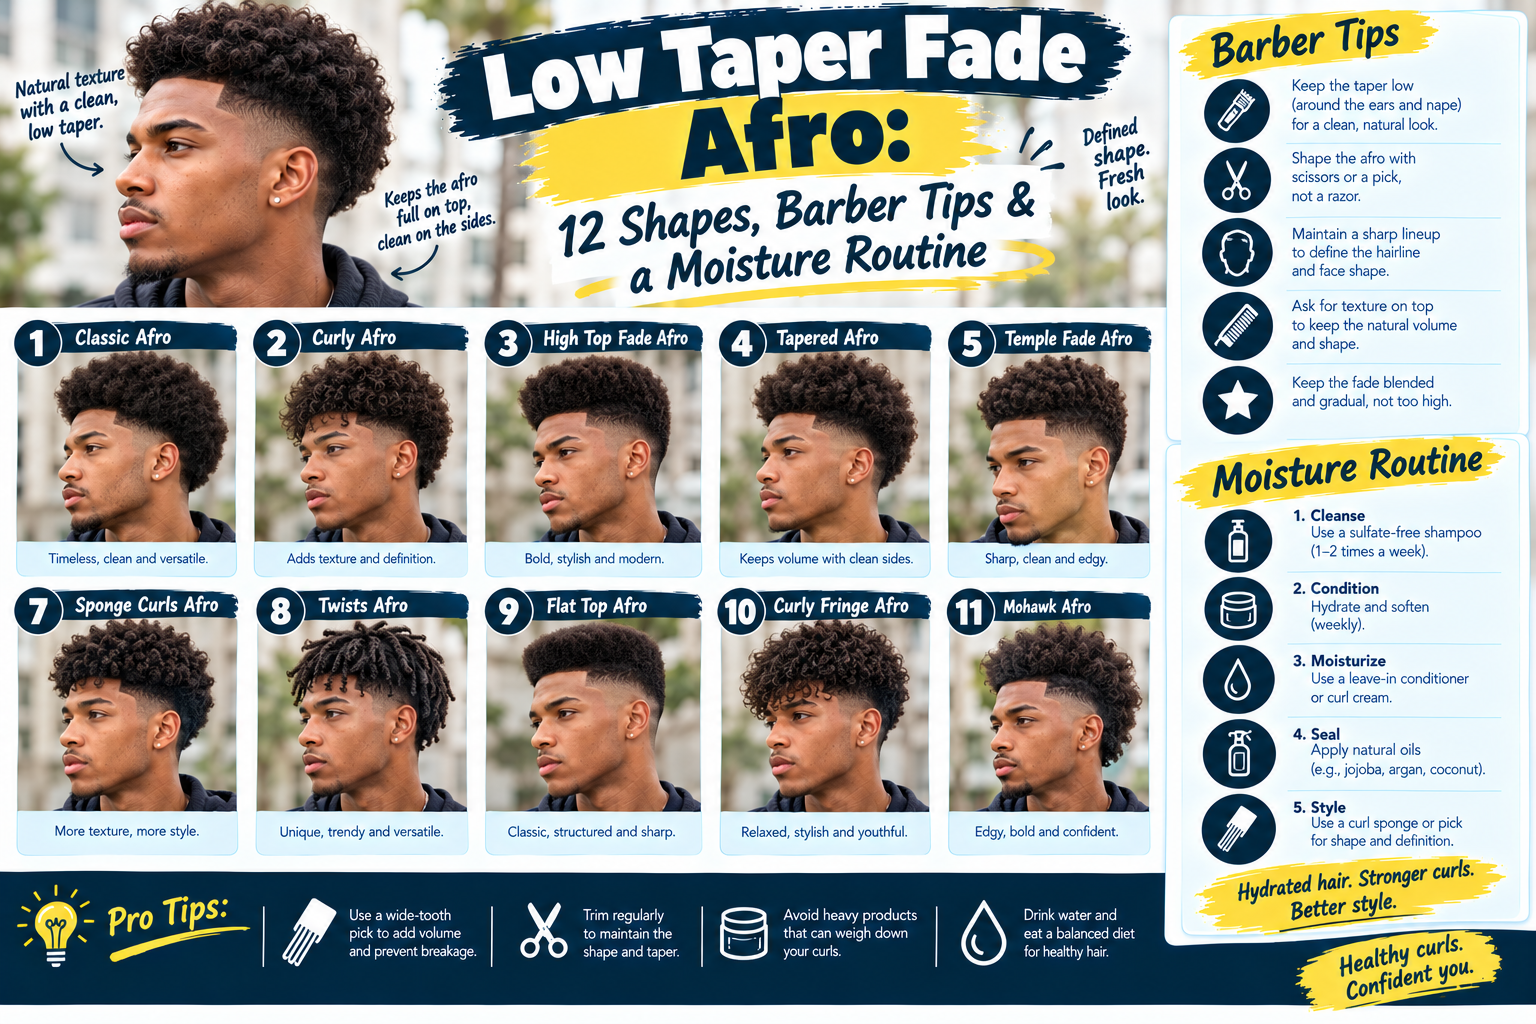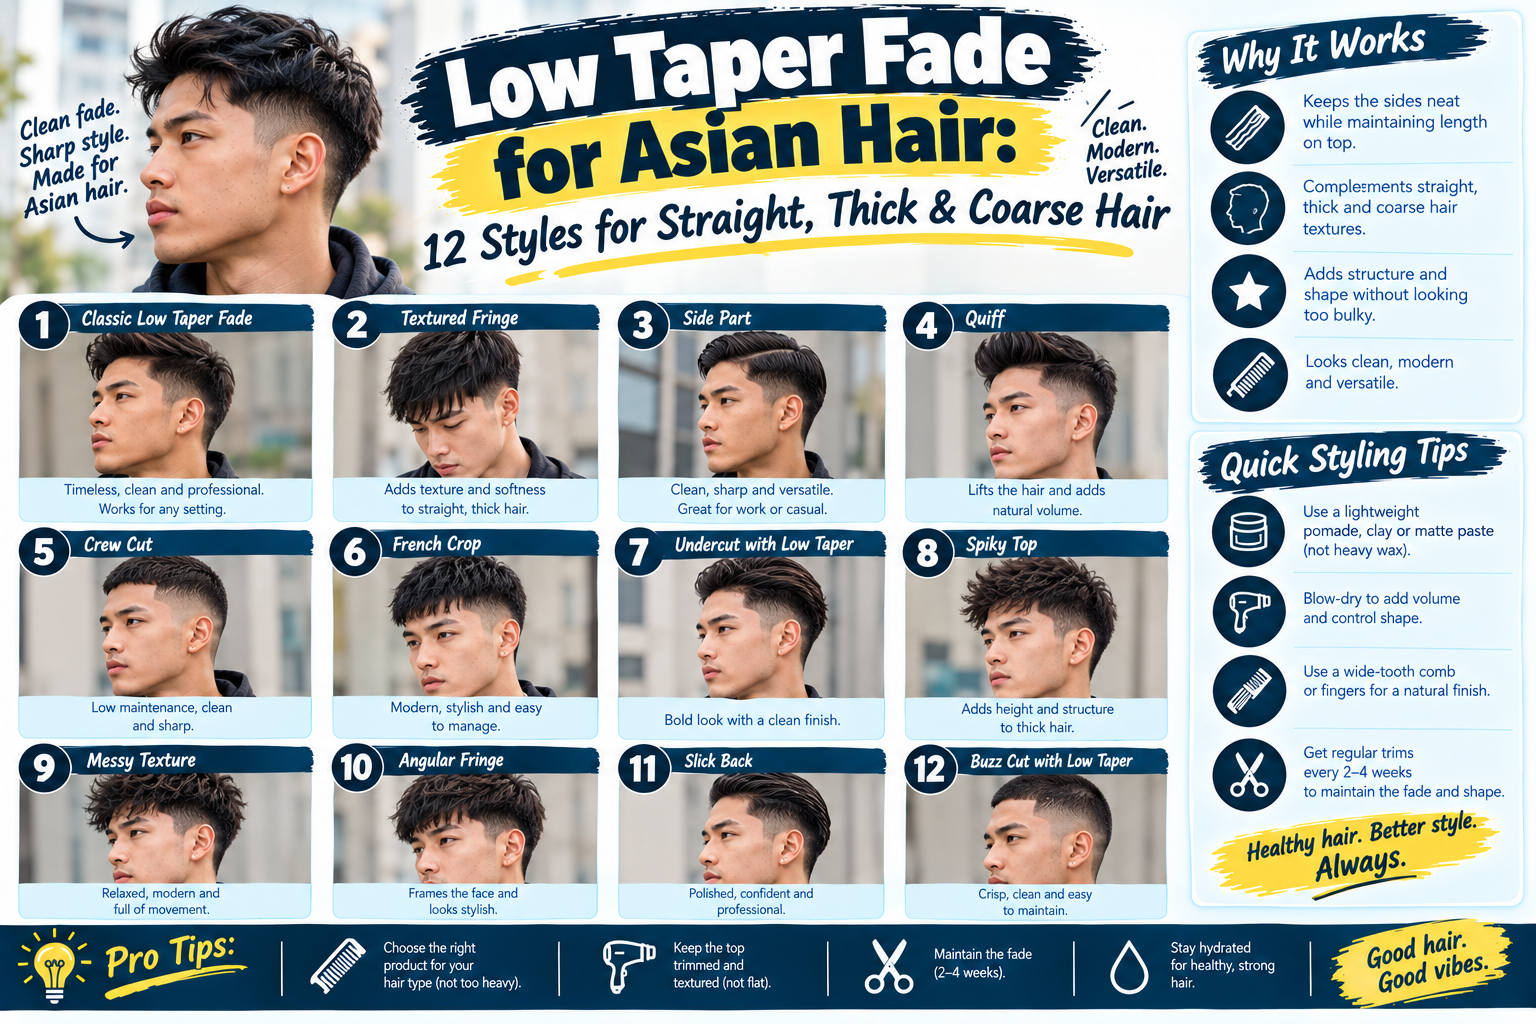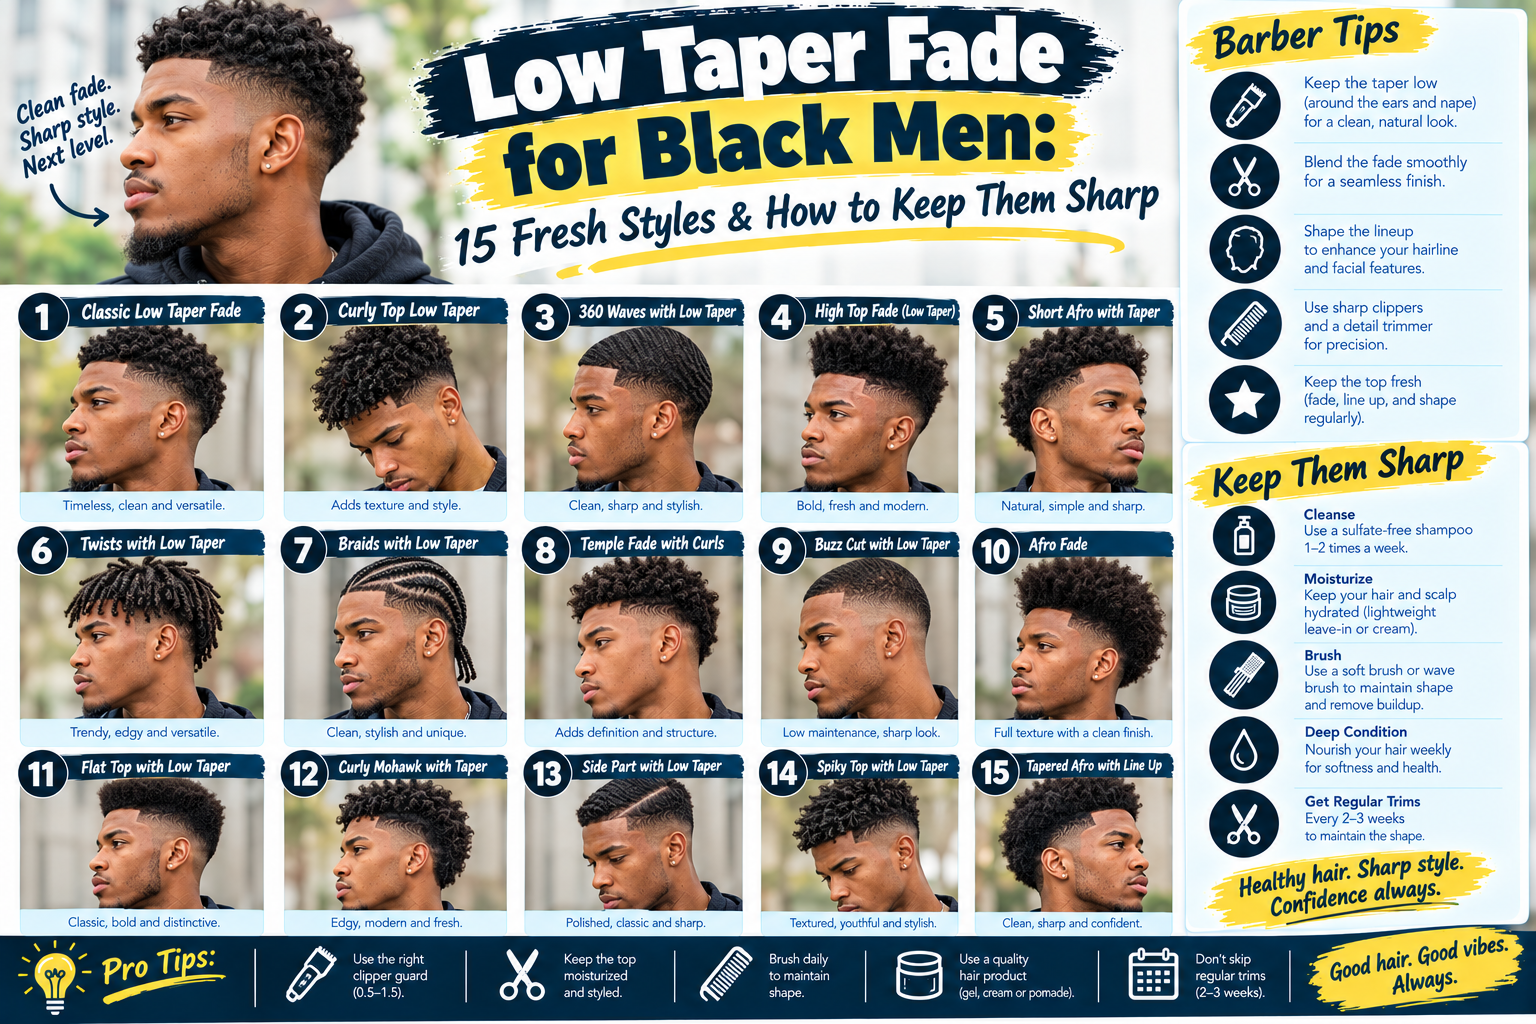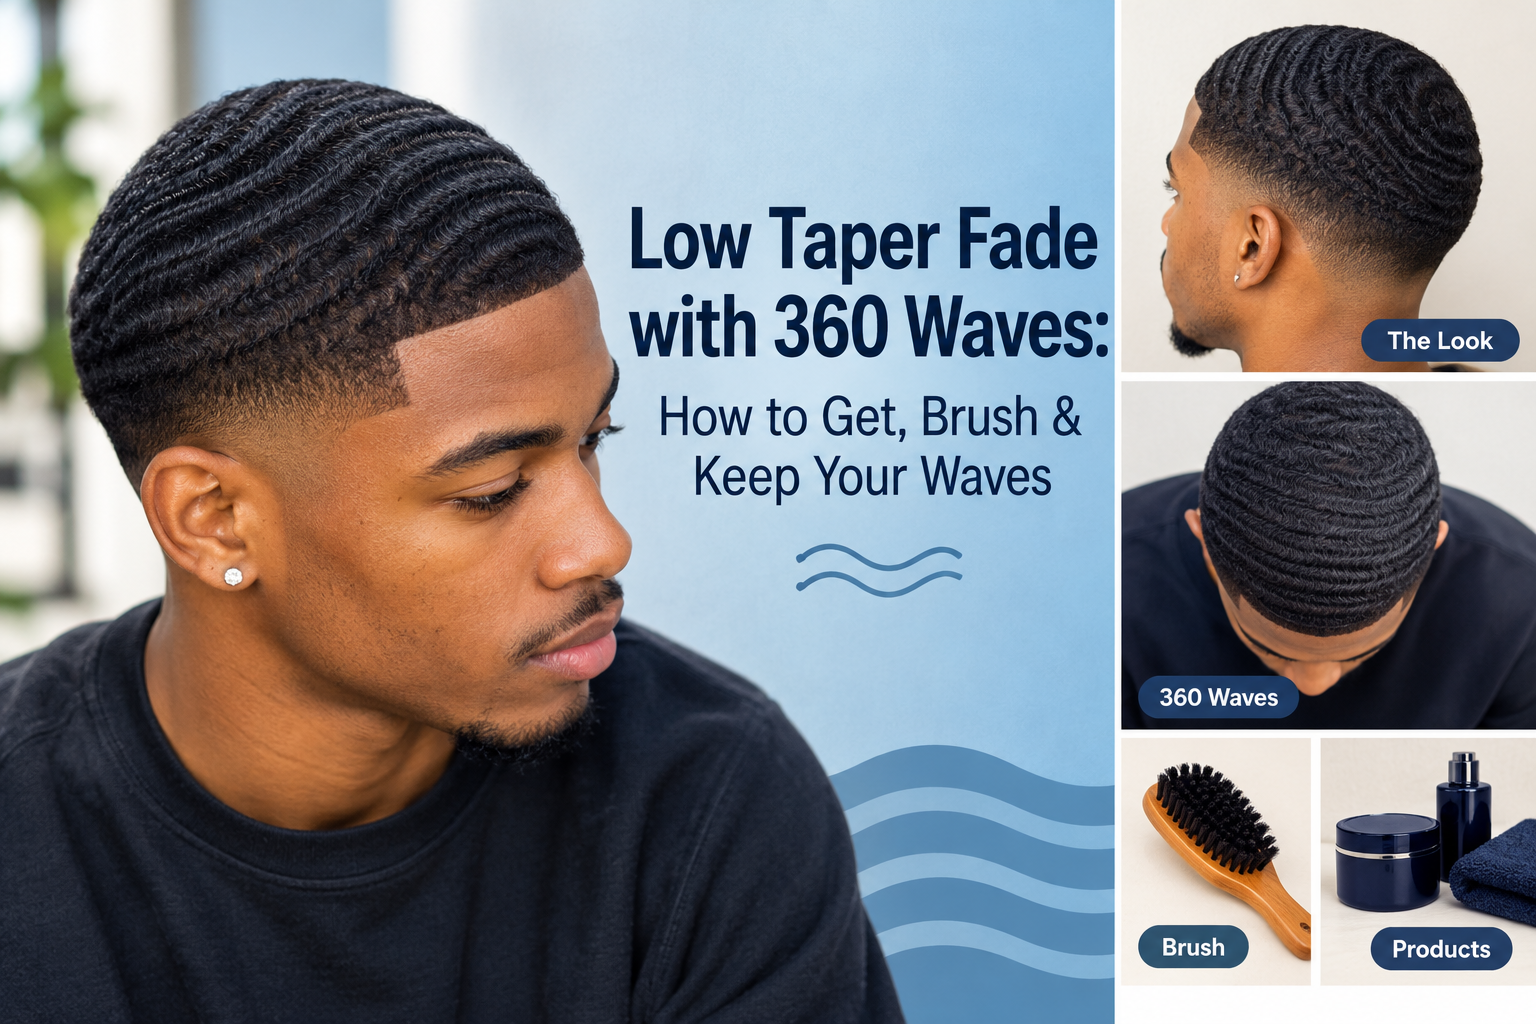
360 waves are one of the most satisfying hairstyles to achieve, because they take discipline. The pattern forms through consistent brushing, moisture and compression, and a sharp low taper fade makes those waves look even more defined. This guide explains how to get waves, how to cut for waves, and how the taper fits in.
Quick Facts
| Best hair types | Coily and tightly curled (roughly 3C–4C) |
| Top length | About 1/4 to 1/2 inch to start; longer for deeper waves |
| Fade height | Low |
| Bottom length | Skin or #0 |
| Daily routine | Brushing multiple times a day plus durag at night |
| Key tools | Medium and hard brushes, durag, spray bottle |
| Key products | Wave pomade or moisturizing cream, light oil |
What Are 360 Waves?
360 waves are ripple patterns that form when short, coily hair is brushed consistently in a set direction from the crown outward. The hair "lays down" into a repeating curl pattern that looks like waves when viewed from above. "360" means the waves go all the way around the head.
Why Pair Waves with a Low Taper Fade?
- It frames the waves. The taper creates a clean border around the pattern.
- It keeps the waves on the top and sides visible. A low taper leaves enough hair above the ears for waves to wrap around the head. A high fade removes those side waves.
- It looks sharp. Waves plus a crisp taper and line-up is a classic combination.
Step 1: Get the Right Cut
Ask your barber for:
"Low taper fade, skin at the bottom, starting low so I keep my side waves. On top, cut with the grain, about a #1 or #1.5. Natural line-up."
Cut with the grain means cutting in the direction your hair grows. Cutting against the grain removes too much and disrupts the pattern.
Step 2: Brush Correctly
Brushing trains the hair to lie in a pattern.
- Find your crown. Waves radiate from the crown (the swirl at the back of the top of your head).
- Top: brush from the crown forward toward the forehead.
- Sides: brush from the top of the head down and slightly back toward the ears.
- Back: brush from the crown down toward the neck.
- Use a medium brush daily and a hard brush to lay down stubborn areas.
- Brush several times a day, especially after applying product and before putting on your durag.
Step 3: Moisture
Waves need moist, soft hair. Each day:
- Lightly mist with water.
- Apply a small amount of wave pomade or moisturizing cream.
- Brush it through.
- Seal with a light oil if your hair is dry.
See our products guide for more on choosing products.
Step 4: Compression (Durag)
After brushing, put on a durag to compress the hair and hold the pattern. Tie it firmly but not so tight that it leaves marks on your forehead. Wear it overnight and for an hour or two after washing.
Step 5: Wolfing (Optional)
"Wolfing" means letting your hair grow without cutting it for several weeks while you keep brushing. Longer hair can create deeper, more defined waves. When you are ready, your barber cuts it back down with the grain to reveal the pattern. During wolfing, a low taper on the sides keeps you looking neat.
How to Keep Your Waves After a Fade
- Ask your barber to use a longer guard on top than you think, and always with the grain.
- Do not let the barber go high on the sides; you will lose side waves.
- Brush immediately after the cut and put on your durag to set the pattern.
Common Mistakes
- Cutting against the grain. It cuts too close and disrupts the waves.
- Inconsistent brushing. Waves need daily commitment.
- Over-washing. Shampooing too often can dry the hair and loosen the pattern.
- Too much product. Leads to buildup and flaking.
- Skipping the durag. Without compression, the pattern loosens overnight.
A Realistic Wave Routine (Week One to Week Eight)
| Stage | What you do | What you see |
|---|---|---|
| Week 1 | Fresh cut with the grain, brush 3–4 times a day, durag nightly | Hair starts lying flatter |
| Weeks 2–3 | Keep brushing; add a moisturizing product daily | A faint pattern near the crown and front |
| Weeks 4–6 | Consider wolfing (no cut on top); refresh only the taper and line-up | Pattern spreads around the head |
| Week 6+ | Cut the top down with the grain to reveal the waves | Defined, visible waves |
Everyone's timeline is different. Hair type, brushing consistency and how often you wash all make a difference, so treat these stages as a rough guide.
Choosing Brushes
- Soft brush: for finishing and for very short or fragile hair.
- Medium brush: the everyday workhorse.
- Hard brush: for laying down thick or stubborn areas, especially at the crown and back.
Many people start with a medium brush and add a hard brush for the back of the head, where hair is often coarser.
Washing Without Losing Your Pattern
- Wash once or twice a week, not daily.
- Use a moisturizing shampoo and always condition.
- While the hair is wet, brush it into the pattern.
- Put the durag on for 30 to 60 minutes while the hair dries. This is sometimes called a "wash and style."
Keep the Taper Low
The most common way people lose side waves is a fade that creeps higher with every visit. Before the barber starts, point to the top of your ear and say "no higher than this." A low taper keeps the waves wrapping around the sides of your head, which is what makes them 360 instead of just "top waves."
Frequently Asked Questions
How long does it take to get 360 waves?
It varies by hair type and consistency, but many people see a pattern forming within a few weeks of daily brushing, with deeper waves taking longer.
What length should my hair be for waves?
Start around 1/4 to 1/2 inch on top. You can wolf (grow it out) for deeper waves.
Will a low taper fade ruin my waves?
No, as long as the barber keeps the fade low and cuts the top with the grain. A low fade keeps your side waves.
Do I need a durag for waves?
A durag is strongly recommended. It compresses the hair and holds the pattern, especially overnight.